部署与测试
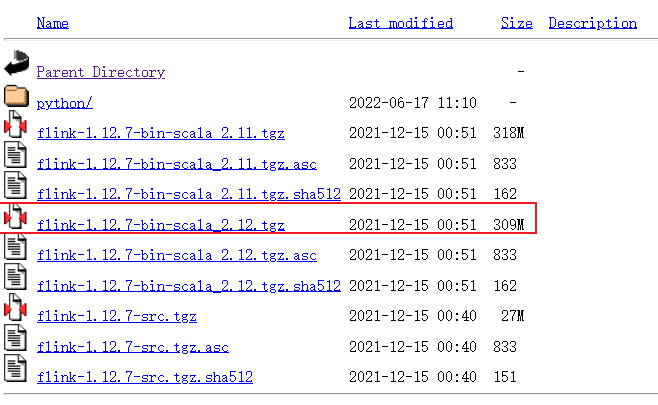
下载地址
https://archive.apache.org/dist/flink/
本次以Flink 1.12.7版本为例
运行 Flink 需要安装 Java 7.x 或更高的版本
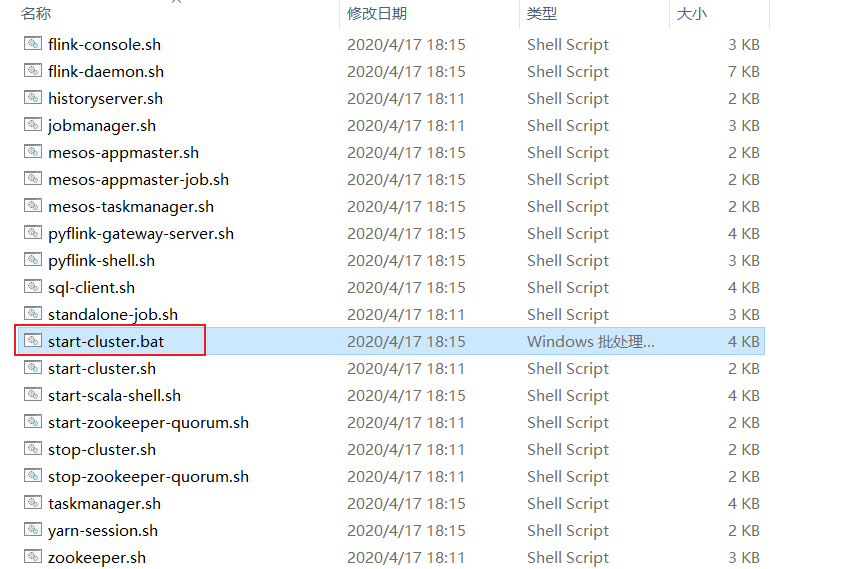
运行
访问 Flink UI
Flink有个UI界面,可以用于监控Flilnk的job运行状态
http://localhost:8081/
测试
运行自带的 WordCount 示例
以统计 Flink 自带的 README.txt 文件为例。
命令:
1
2
3
| D:
cd D:\Tools\bigdata\flink-1.12.7\bin
.\flink.bat run ..\examples\batch\WordCount.jar -input ..\README.txt -output ..\README_CountWord_Result.txt
|
查看任务完成情况
http://localhost:8081/#/job/completed
编程开发
开发过程中并不需要在本地部署Flink环境。
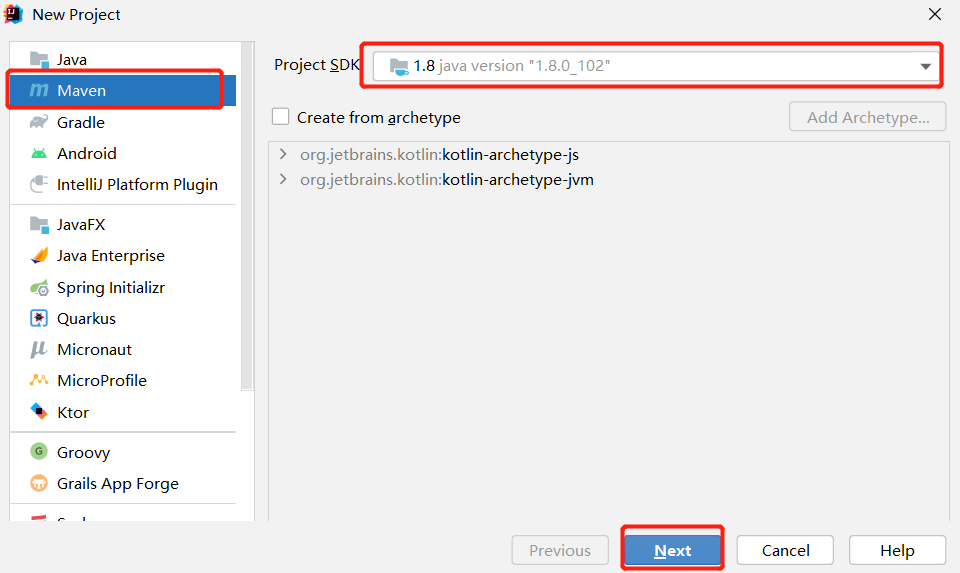
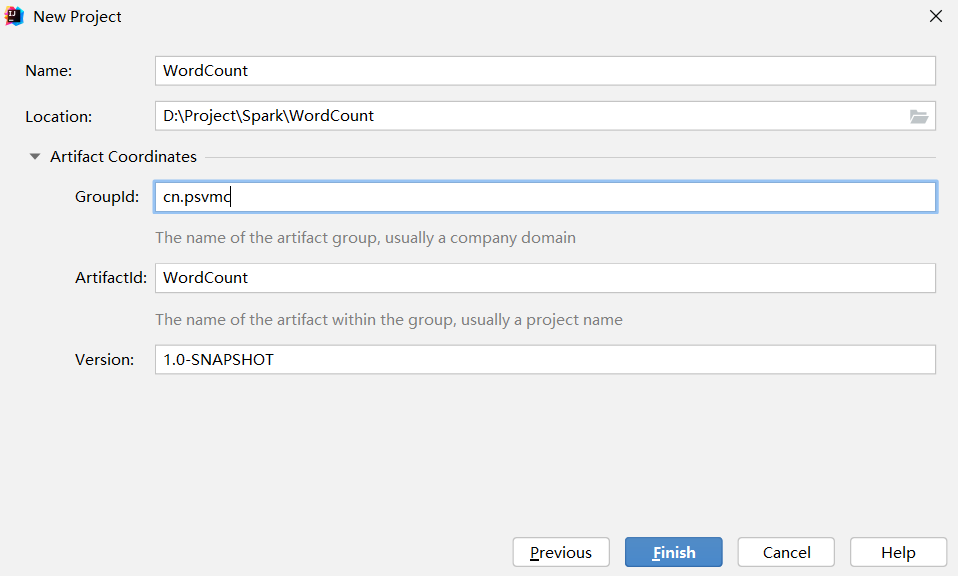
创建项目
创建项目
项目名WordCount
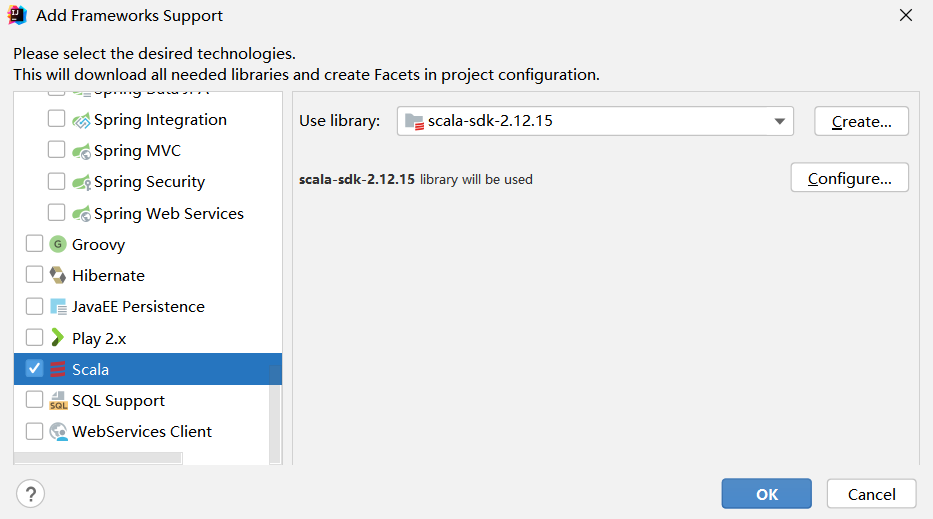
在项目名称WordCount上单击鼠标右键,在弹出的菜单中点击Add Framework Support
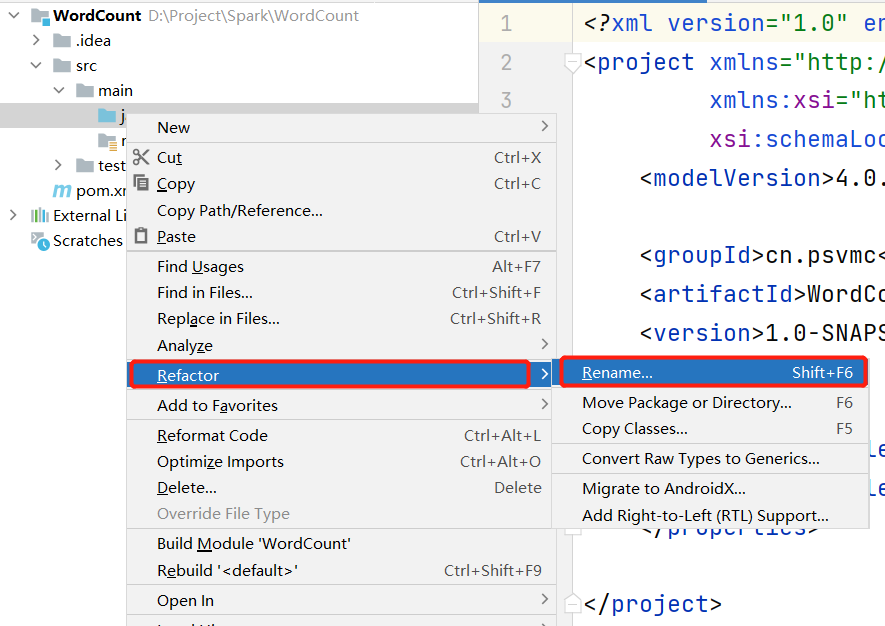
在java目录上单击鼠标右键,在弹出的菜单中选择Refactor,再在弹出的菜单中选择Rename,
然后,在出现的界面中把java目录名称修改为scala。
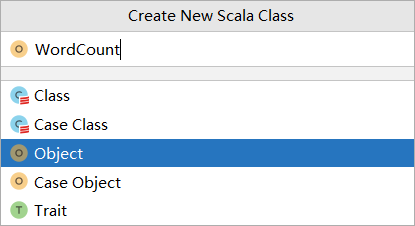
添加类WordCount
在IDEA开发界面中,打开pom.xml,清空里面的内容,输入如下内容:
1
2
3
4
5
6
7
8
9
10
11
12
13
14
15
16
17
18
19
20
21
22
23
24
25
26
27
28
29
30
31
32
33
34
35
36
37
38
39
40
41
42
43
44
45
46
47
48
49
50
51
52
53
54
55
56
57
58
59
60
61
62
63
64
65
66
67
68
69
70
71
72
73
74
75
76
77
78
79
80
81
82
83
84
85
| <?xml version="1.0" encoding="UTF-8"?>
<project xmlns="http://maven.apache.org/POM/4.0.0"
xmlns:xsi="http://www.w3.org/2001/XMLSchema-instance"
xsi:schemaLocation="http://maven.apache.org/POM/4.0.0 http://maven.apache.org/xsd/maven-4.0.0.xsd">
<modelVersion>4.0.0</modelVersion>
<groupId>cn.psvmc</groupId>
<artifactId>WordCount</artifactId>
<version>1.0</version>
<properties>
<maven.compiler.source>8</maven.compiler.source>
<maven.compiler.target>8</maven.compiler.target>
<flink.version>1.9.3</flink.version>
<scala.version>2.12.15</scala.version>
</properties>
<repositories>
<repository>
<id>alimaven</id>
<name>aliyun maven</name>
<url>https://maven.aliyun.com/repository/public</url>
</repository>
</repositories>
<dependencies>
<dependency>
<groupId>org.apache.flink</groupId>
<artifactId>flink-java</artifactId>
<version>${flink.version}</version>
</dependency>
<dependency>
<groupId>org.apache.flink</groupId>
<artifactId>flink-scala_2.12</artifactId>
<version>${flink.version}</version>
</dependency>
<dependency>
<groupId>org.apache.flink</groupId>
<artifactId>flink-streaming-java_2.12</artifactId>
<version>${flink.version}</version>
</dependency>
<dependency>
<groupId>org.apache.flink</groupId>
<artifactId>flink-streaming-scala_2.12</artifactId>
<version>${flink.version}</version>
</dependency>
</dependencies>
<build>
<plugins>
<plugin>
<groupId>net.alchim31.maven</groupId>
<artifactId>scala-maven-plugin</artifactId>
<version>3.4.6</version>
<executions>
<execution>
<goals>
<goal>compile</goal>
</goals>
</execution>
</executions>
</plugin>
<plugin>
<groupId>org.apache.maven.plugins</groupId>
<artifactId>maven-assembly-plugin</artifactId>
<version>3.0.0</version>
<configuration>
<descriptorRefs>
<descriptorRef>jar-with-dependencies</descriptorRef>
</descriptorRefs>
</configuration>
<executions>
<execution>
<id>make-assembly</id>
<phase>package</phase>
<goals>
<goal>single</goal>
</goals>
</execution>
</executions>
</plugin>
</plugins>
</build>
</project>
|
测试
创建测试文件wordcount.txt
D:\bigdata_study\stu_list.txt
1
2
3
4
| 10010,张三,女,16,IS
10011,李四,男,18,IS
10012,王五,男,19,IS
10013,赵六,女,15,CS
|
然后,再打开WordCount.scala代码文件,清空里面的内容,输入如下内容:
1
2
3
4
5
6
7
8
9
10
11
12
13
14
15
16
17
18
19
20
21
22
| import org.apache.flink.api.scala.{DataSet, ExecutionEnvironment, _}
object WordCount {
case class Student(id: String, name: String, sex: String, age: Int, department: String)
def main(args: Array[String]): Unit = {
System.setProperty("HADOOP_USER_NAME", "hadoop");
val environment = ExecutionEnvironment.getExecutionEnvironment
val stu_list: DataSet[Student] = environment.readCsvFile[Student](
filePath = "file:///D:/bigdata_study/stu_list.txt",
lineDelimiter = "\n",
fieldDelimiter = ",",
quoteCharacter = null,
ignoreFirstLine = false,
ignoreComments = "#",
lenient = false,
includedFields = Array[Int](0, 1, 2, 3, 4),
pojoFields = Array[String]("id", "name", "sex", "age", "department")
)
println("-------------原数据----------")
stu_list.print
}
}
|
运行就可以看到结果为
————-原数据———-
Student(10012,王五,男,19,IS)
Student(10010,张三,女,16,IS)
Student(10013,赵六,女,15,CS)
Student(10011,李四,男,18,IS)
打包运行
在IDEA开发界面的右侧,点击Maven图标,会弹出Maven调试界面
在Maven调试界面中点击package,就可以对应用程序进行打包,打包成JAR包。
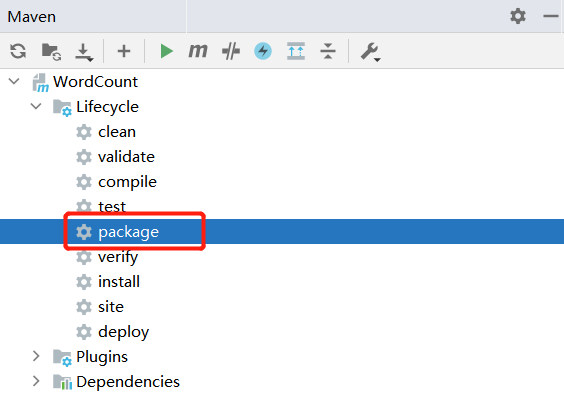
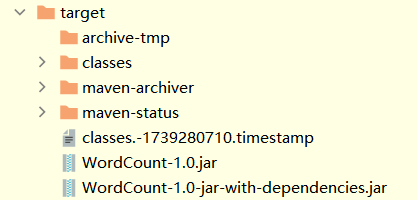
这时,到IDEA开发界面左侧的项目目录树中,在“target”目录下,就可以看到生成了两个JAR文件,
分别是:WordCount-1.0.jar和WordCount-1.0-jar-with-dependencies.jar。